Pages

Friday 12 June 2015

Sketchbook and Illustrations (more photos to be added soon)

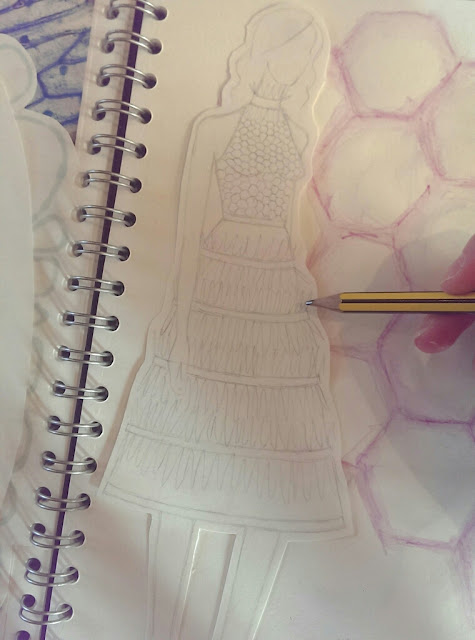
Here are photos of my sketchbook and illustration boards.

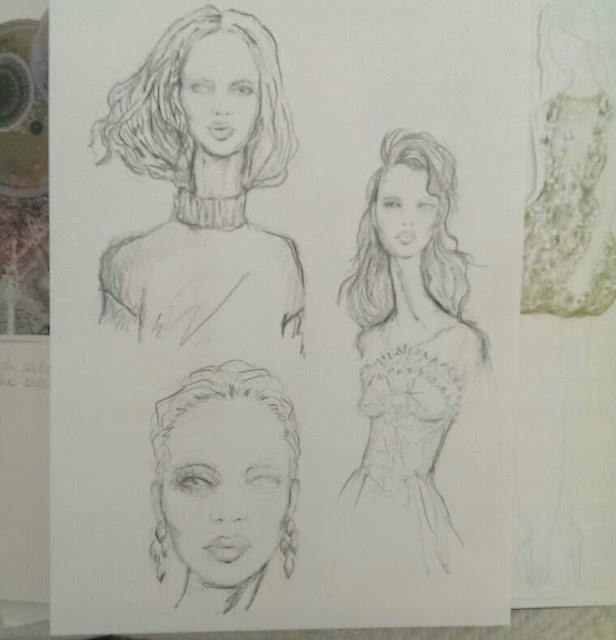
For my illustrations I developed my own style from Deanna Kennedy’s quick, sketchy, black and white corpse like figures. I really liked how her signature style was to draw the hair messy and flowing, the face with one eye completely white and full pouty lips, creating an eery and dishevelled feel but still glamourous illustrations which would compliment my designs perfectly. To develop her style into my own I sketched a couple of illustrations in my sketchbook which had long straggly eyelashes, white eyes, and indications of colour on the skin and lips, finishing them off with fineliner. I 
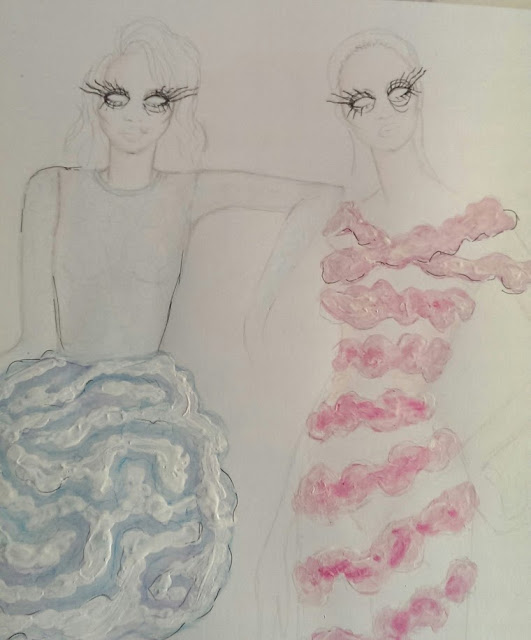
decided to add a hint of skin colour to add a bit of life into the corpse like illustration and again to symbolise growth and decay.  For my boards I used a variety of media including watercolour paint, watercolour pencils, acrylic paint and fineliner. After completing my first board using a lot of white acrylic paint on the brush to a 3D wadded effect on the skirt on one of the designs I decided that I would incorporate white paint in all of the designs to add further depth/ detail.


Thursday 11 June 2015

Photoshoot of Final Garment

Here are the photos I took of my lovely pal Eleanor in my final garment around Kelham Island in Sheffield. To go with my theme of growth and decay I wanted to find derelict buildings to use as a background but any that we found just weren't accessible so instead whilst wandering around we found a wall with archways and river behind which worked really well.
For hair we went for a slicked back style, and after a failed attempt at 'glossy eye makeup' we resorted to smoky metallic eyes and a dark red lip.
 
I'm really happy with how the photoshoot turned out and I really enjoyed taking the photos - as part of this project I also produced a lookbook which will be included in the next post.


And Finally here are just a few photos in the studio of my garment on a mannequin.


 Em x


Sewing Ruffles and Finishing Touches

 To make the 'ruffles' to represent shrivelled/decayed flowers I started off by using gathering stitching and gathering the organza fabric with elastic, as well as pleating strips to make circular shapes but neither proved to be a success, so instead I took to pinterest to look for diy flower tutorials. I then followed a tutorial by cutting out lots of 4cm circles and sewing four folded circles to a base circle, and repeating with four more trimmed down slightly and sewn on top. After this I literally ruffled the layers and made 11 more to be sewn onto the collar and waistband.
Finally I added some beads onto the petals, tacked the petals to the bodice and voila! Here is my finished garment!

Sewing Final Garment (Part 2)

 I found sewing the insert to the bodice and petals to the waistband difficult because first of all it was very hard to get a neat finish at the point of the sweetheart neckline, and secondly because of the wire overlapping the seam, I had to sew back and forth over the wire to make sure it was held in place.
 Sewing the vent.
 
 Sewing the facing to bodice.
 
 Tacked petals to insert.